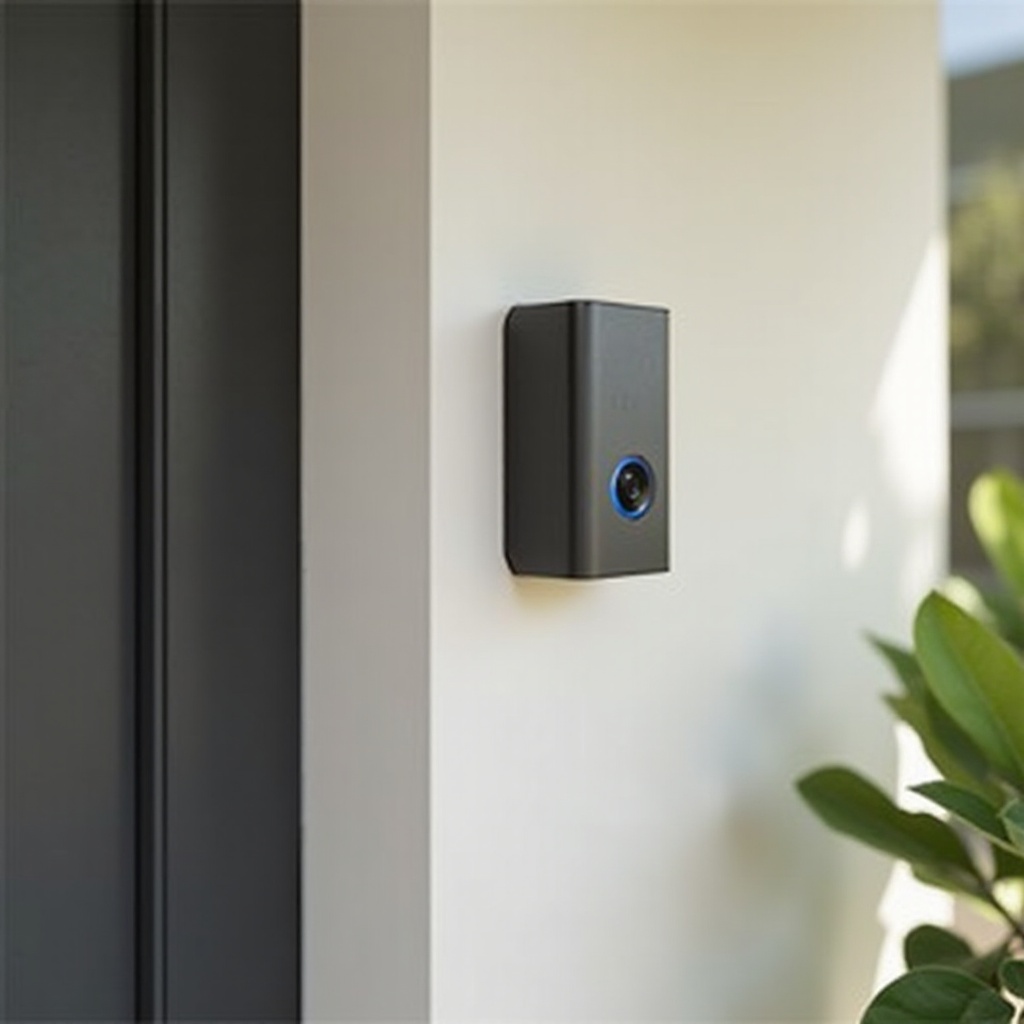
Introduction
Removing a Ring doorbell doesn’t have to be intimidating. Whether you’re upgrading your unit, moving to a new place, or switching to a different security system, taking off your Ring device correctly is essential. This guide will provide you with clear instructions to ensure a smooth and secure removal. Let’s begin by exploring why you might need to remove your Ring doorbell and how you can best prepare for the task ahead.
Why Remove Your Ring Doorbell?
There are various reasons why homeowners decide to remove their Ring doorbells. Here are some common motivations:
-
Upgrading or Replacing the Device: Many users choose to upgrade their current model or switch brands for advanced features and performance.
-
Relocating: Moving to a new home often means taking your security devices with you. Proper removal ensures it’s ready for reinstallation at your new address.
-
Technical Issues or Repairs: Removing your Ring doorbell might be necessary for repairs or when you’re troubleshooting persistent issues.
Understanding the reasons for removal helps you undertake the task with clearer objectives. With your purpose in mind, it’s time to gather the necessary tools and set up your work area.
Tools and Preparations
Appropriate tools and a well-prepared workspace are crucial for a successful removal process. Ensure you have the following:
-
Essential Tools Checklist: Assemble a screwdriver, pliers, and the specific Ring doorbell screwdriver if available. A cloth and a putty knife might also be handy for handling wires and cleaning up after removal.
-
Safety Measures to Consider: Turn off the power to your doorbell at the circuit breaker, particularly if it is a wired model, to avoid any electric shocks or damage.
Armed with the right tools and safety precautions, you’re ready to proceed to the actual removal steps.
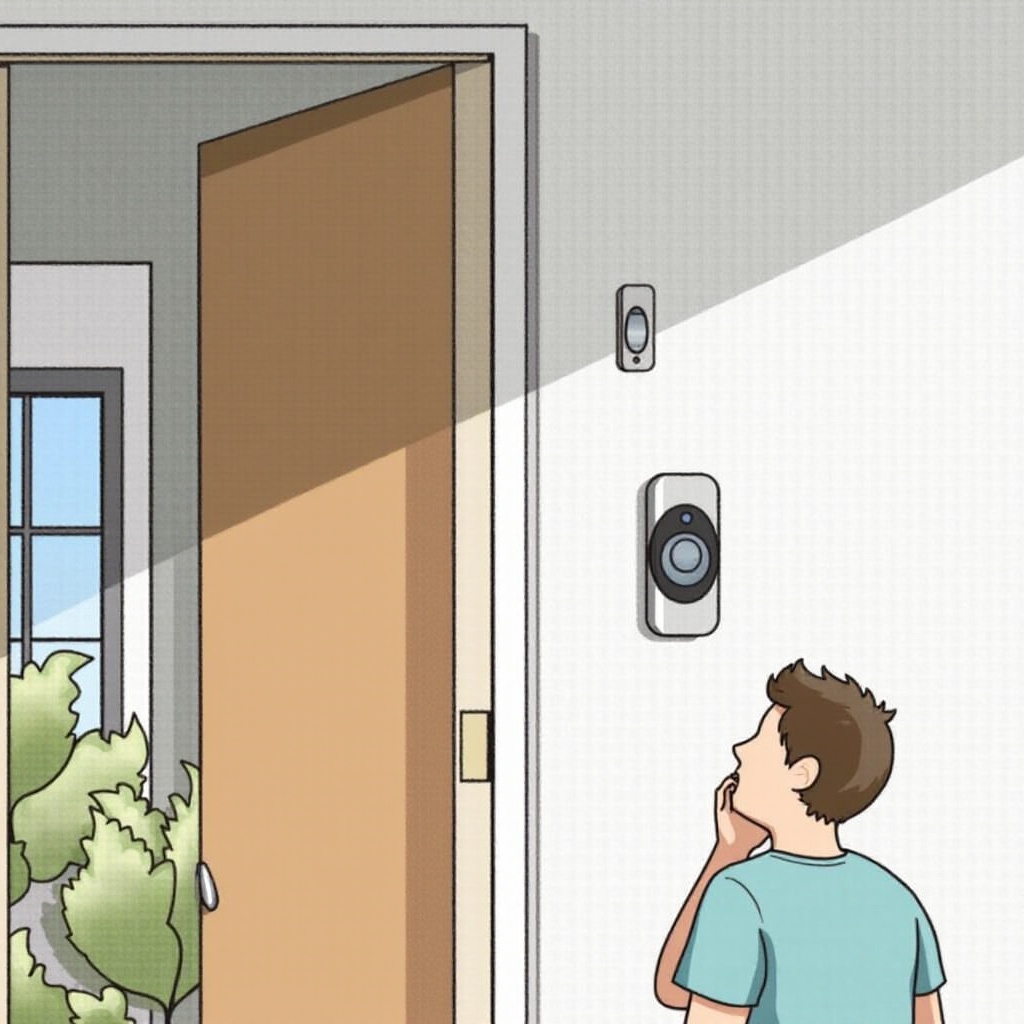
Step-by-Step Guide to Remove Your Ring Doorbell
Follow these steps to ensure a safe and efficient removal of your Ring doorbell:
-
Turning Off Power to the Device: Start by shutting off power at your home’s circuit breaker to ensure safety when handling wired models.
-
Unscrewing and Detaching the Faceplate: Carefully unscrew the faceplate using the appropriate screwdriver, making sure not to strip the screws. Gently remove the faceplate to expose the mounting bracket and wiring.
-
Safely Disconnecting Wiring: Identify and gently disconnect the wires linked to your doorbell. Use pliers to ease them off, and make a note of their arrangement for future reinstallation.
-
Removing the Mounting Bracket from the Wall: Once the wiring is disconnected, unscrew the mounting bracket cautiously, ensuring no damage is done to the mount or wall.
After the doorbell is removed, a few post-removal tasks will help tidy up your space and prepare it for future use.
Post-Removal Steps
Once the device is off, consider the following steps:
-
Cleaning and Repairing the Wall: Remove any adhesive residue left by the bracket with a putty knife, and fill in screw holes with spackle. Once dry, sand it smooth to prepare for any paint touch-ups.
-
Options for Recycling or Storing the Device: If you’re not reinstalling immediately, store the device in a dry, secure place. Otherwise, local electronic recycling facilities can assist with responsible disposal.
These tasks prepare your space for new installations and keep your current setup neat. Now, let’s pivot to maintaining home security after removing the doorbell.

Smart Home Considerations After Removal
After removing your Ring doorbell, it’s vital to keep your smart home system secure:
-
Updating Security System Settings: Ensure your overall security settings are current, adjusting other measures to cover any gaps left by the doorbell.
-
Exploring Alternative Devices: If opting for a different brand or model, research options that align with your security needs, emphasizing features like advanced video quality and smart home compatibility.
By considering these factors, you can maintain a robust security environment for your home. Finally, let’s conclude and address some frequently asked questions.
Conclusion
Removing a Ring doorbell is a straightforward process made easier with the right guidance. By following this guide, you’ll ensure a safe and effective removal, paving the way for upgrades or transitions without hassle. Remember, prioritizing safety and understanding your home’s setup is key to successful removal and future smart home improvements.
Frequently Asked Questions
What should I do if the Ring doorbell is stuck or won’t detach?
If your doorbell won’t come off, check for hidden screws. Applying gentle pressure with a soft cloth can help loosen it.
Can removing my Ring doorbell affect my home security?
Yes, temporarily. Adjust other measures to ensure continuous security coverage before removal.
Is it possible to reinstall my Ring doorbell at a new location?
Yes, as long as the new location supports electrical wiring and Wi-Fi connectivity.